Spring arrives with its own to-do list, and somewhere near the top sits a task that can feel overwhelming: getting your swimming pool ready for the season. A proper pool opening sets the tone for months of crystal-clear water and trouble-free swimming. Rush through it, and you'll spend your summer chasing algae blooms and murky water instead of enjoying backyard barbecues.
The difference between a smooth season and a frustrating one often comes down to these first few days. I've seen pool owners skip steps to save time, only to spend triple the effort fixing problems that could have been prevented. The good news? Following a systematic approach makes the process straightforward, even if you're tackling it for the first time.
What follows isn't complicated, but it does require patience. Each step builds on the previous one, creating a foundation for healthy water chemistry and equipment that runs efficiently all summer. Whether your pool has been covered since October or sitting exposed through mild winters, these seven steps will get you from winterized to swim-ready.
Preparing Your Site and Removing the Winter Cover
Before touching any equipment, take a walk around your pool area. Look for winter damage: cracked coping, loose deck tiles, or fence sections that need repair. Addressing these issues now prevents bigger headaches once the pool is full and in use.
The cover removal process deserves more attention than most people give it. A rushed job dumps months of accumulated debris directly into your pool water, creating extra work that could have been avoided entirely.
Clearing Debris and Pumping Off Standing Water
Standing water on your cover is essentially a concentrated soup of organic matter, leaves, pollen, and whatever else blew in over winter. Pumping this off before removing the cover is non-negotiable. Use a submersible pump or cover pump to remove as much water as possible.
Once the water level drops, use a leaf net or soft-bristle broom to push remaining debris toward the pump or off the cover edges. Work from the center outward in sections. This methodical approach prevents debris from sliding into the pool when you finally pull the cover away.
Cleaning and Storing the Cover for Next Season
Your cover just protected your pool for months. Return the favor by cleaning it properly before storage. Spread it on a flat area, hose off both sides, and let it dry completely. Storing a damp cover invites mildew and premature deterioration.
Once dry, fold loosely rather than rolling tightly, which can create permanent creases. Store in a cool, dry location away from rodents. A clean, properly stored cover lasts significantly longer and performs better when winter returns.
Inspecting Equipment and Reinstalling Fittings
With the cover stored, shift your attention to the mechanical components that keep your pool running. Winter can be hard on equipment, even when properly winterized. Cracks in pump housings, damaged o-rings, and corroded connections all need identification before you start circulating water.
Check your filter housing, pump, heater connections, and any automatic cleaners. Look for visible damage, corrosion, or signs of pest activity. Mice love making homes in pool equipment during the off-season.
Replacing Plugs and Priming the Pump
Remove all winterizing plugs from return lines, skimmers, and the main drain. Replace these with the appropriate fittings: eyeball returns, skimmer baskets, and drain covers. Inspect each plug as you remove it, checking for cracks or degraded rubber.
Priming your pump correctly prevents damage and ensures proper circulation. Fill the pump basket with water before starting, and keep the lid off initially to watch for air bubbles. A pump that won't prime often has an air leak in the suction line or a clogged impeller.
Filling the Pool and Restoring Circulation
Water levels drop during winter, both from evaporation under the cover and from any water you drained during winterization. Fill the pool to the middle of your skimmer opening, which allows proper surface skimming without drawing air.
Use this filling time productively. While the hose runs, reconnect any disconnected plumbing, install ladders and handrails, and position diving boards or slides. Once the water reaches the proper level, open all valves and start the pump. Listen for unusual sounds and watch for leaks at all connection points.
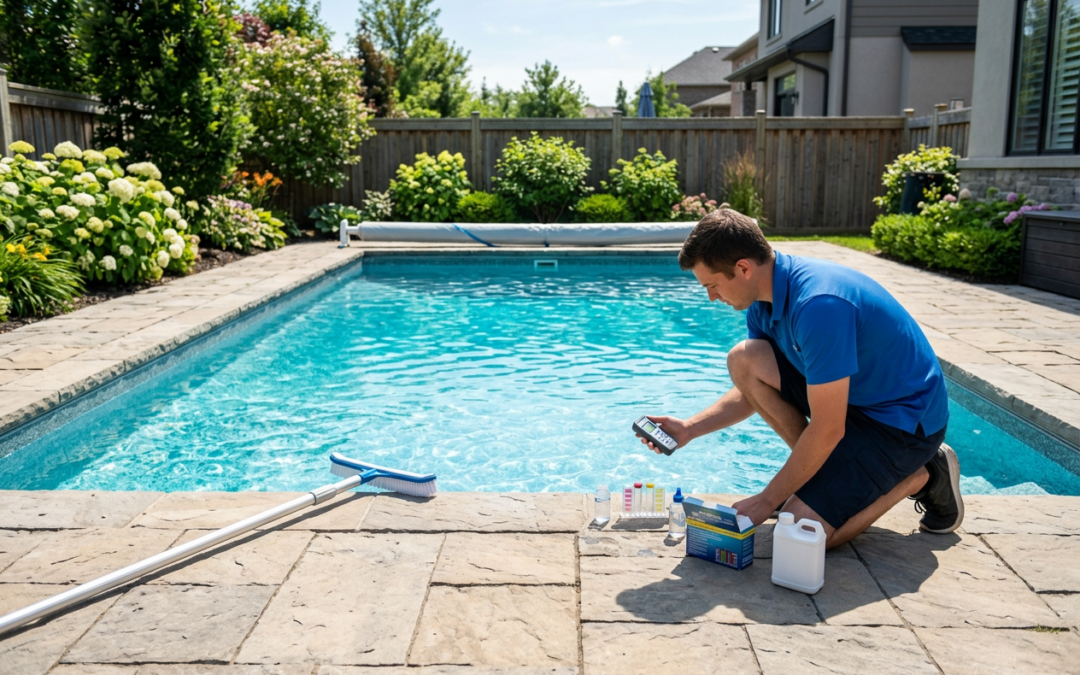
Testing and Balancing Your Water Chemistry
Here's where patience pays off. Water chemistry after months of dormancy rarely resembles anything close to balanced. Testing before adding chemicals tells you exactly what adjustments are needed rather than guessing.
Use a quality test kit or take a sample to your local pool store. Test strips work for quick checks, but liquid test kits provide more accurate readings for initial startup.
Testing Cyanuric Acid Levels for UV Protection
Cyanuric acid protects chlorine from UV degradation, but levels that are too high reduce chlorine effectiveness. Target 30-50 ppm for outdoor pools. Unlike other chemicals, cyanuric acid doesn't dissipate naturally, so if levels are too high, partial water replacement is your only option.
Low cyanuric acid levels leave your chlorine vulnerable to sunlight, meaning you'll burn through sanitizer quickly. Stabilized chlorine products add cyanuric acid gradually, while unstabilized chlorine requires separate cyanuric acid additions.
Adjusting pH and Total Alkalinity
Alkalinity acts as a buffer for pH, so adjust it first. Target 80-120 ppm using sodium bicarbonate to raise levels or muriatic acid to lower them. Once alkalinity stabilizes, address pH, aiming for 7.4-7.6.
Make adjustments gradually. Add chemicals, run the pump for several hours, then retest. Overcorrecting creates a frustrating back-and-forth that wastes both chemicals and time.
Utilizing a Swimming Pool Chemical Startup Kit
A swimming pool chemical startup kit simplifies the opening process by providing measured amounts of essential chemicals. These kits typically include shock, algaecide, stain prevention, and clarifier, all sized appropriately for your pool volume.
The convenience factor is real, especially for newer pool owners who might otherwise purchase too much or too little of individual chemicals. However, always test your water first, as kit quantities assume average starting conditions.
Shocking the Water to Eliminate Contaminants
Shocking raises chlorine levels dramatically, destroying organic contaminants, bacteria, and algae spores that survived winter. Use calcium hypochlorite or a non-chlorine shock according to package directions, typically 1 pound per 10,000 gallons.
Shock at dusk when UV rays won't immediately degrade the chlorine. Run your pump overnight to distribute the shock throughout the pool. Wait until chlorine levels drop below 5 ppm before swimming.
Adding Algaecide and Metal Sequestering Agents
Algaecide provides a preventive layer against algae growth, particularly useful during the vulnerable startup period. Add according to directions after shocking, once chlorine levels begin dropping.
Metal sequestering agents prevent staining from iron, copper, and manganese often present in fill water. These metals can discolor pool surfaces and create unsightly stains that are difficult to remove. A sequestering agent binds these metals, keeping them in solution where the filter can remove them.
How to Clear Cloudy Pool Water After Winter
Cloudy water after opening is common, not a sign of failure. Suspended particles, dead algae, and microscopic debris create that milky appearance. The solution involves both chemical treatment and mechanical filtration.
Understanding how to clear cloudy pool water after winter saves frustration. The process takes time, sometimes several days, but following the right steps produces reliably clear results.
Using Flocculants and Clarifiers
Clarifiers work by clumping tiny particles into larger ones that your filter can capture. They're effective for mild cloudiness and work over 24-48 hours while the pump runs normally.
Flocculants work faster but require more effort. They bind particles into heavy clumps that sink to the pool floor, where you vacuum them to waste. This wastes water but produces faster results for severely cloudy pools.
Running the Filtration System Continuously
During clearing, run your pump 24 hours daily. Clean or backwash your filter frequently, sometimes daily, until water clarity improves. A clogged filter can't capture particles effectively.
Monitor your pressure gauge. Rising pressure indicates a filter loaded with debris. Backwash sand and DE filters when pressure rises 8-10 psi above clean starting pressure. Cartridge filters need removal and hosing.
Final Vacuuming and Ongoing Maintenance Schedule
Once water clears, perform a thorough vacuuming to remove settled debris. Brush walls and tile lines to dislodge any remaining biofilm or scale. This final cleaning prepares your pool for regular use.
Establish your summer maintenance routine now. Test water 2-3 times weekly, skim daily, and vacuum weekly. Run your pump 8-12 hours daily depending on pool size and usage. Consistent maintenance prevents the chemical swings and algae problems that plague neglected pools.
Your pool opening investment pays dividends all season. Take the time to do it right, and you'll spend summer swimming rather than troubleshooting.